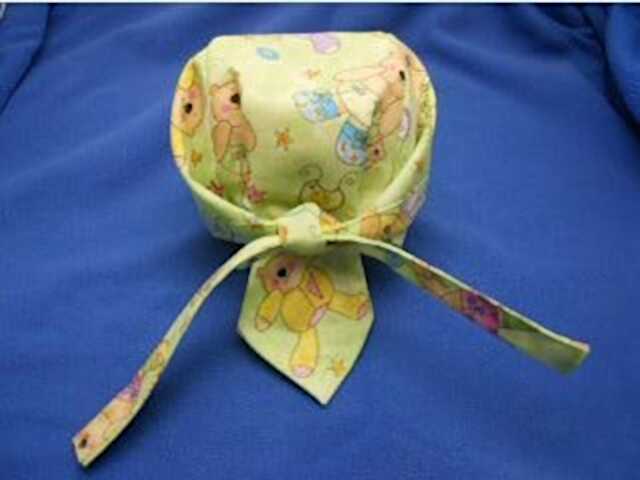
Baby Doo Rag
Doo Rag Pattern
Christianity Oasis has provided you with this free Baby Doo Rag program with a baby doo rag pattern and a baby doo rag tutorial. Adult doo rag pattern available too. Enjoy !!!

Proverbs 31:13
She seeketh wool, and flax, and worketh willingly with her hands.
Welcome to Christianity Oasis Crafts projects, part of our scripture based Virtuous Woman program, which is an amazing adventure for every woman.
Baby Doo Rag Pattern Tutorial
How to Make a Baby Doo Rag Lesson
This is our absolutely free doo rag pattern download with a step by step doo rag tutorial which has easy to follow instructions on how to make a baby doo rag.
If you like this baby doo rag project, you will also like our adult doo rag pattern and tutorial. Click the link below to create a custom baby do-rag for yourself or a loved one:
Baby Doo Rag
A baby doo rag is a covering for the child's head. We also have Adult doo rags which are very popular among chemo-therapy patients, athletes, motorcycle riders and those with long hair who wish to keep it out of their face. Doo rags are also used many times in place of a hair net or to keep cornrows, waves or other hair styles from being disturbed during sleep.
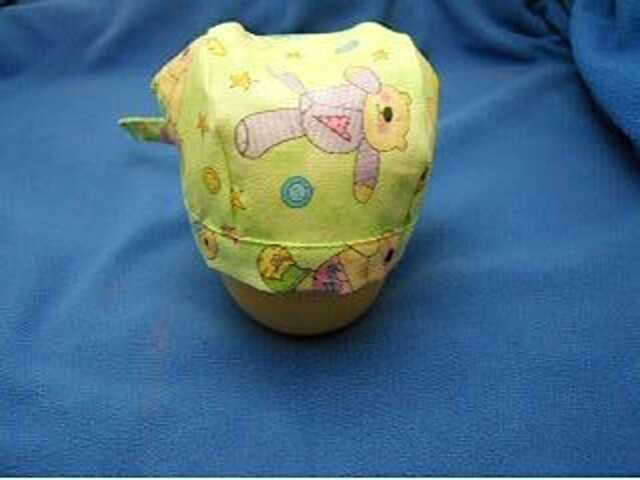
Baby Doo Rag Pattern Instructions
You will have the most success at your baby doo rag turning out to be a quality crafted project if you will carefully read through the baby doo rag pattern instructions before beginning your project. Make sure you understand each step, examining each picture as you go, so you know why each step is necessary. Be sure to use quality materials, because chances are, it will be washed often, and after all your labor of love, you want it to look good and last a long time as well.
Baby Doo rag materials you will need:
- Sewing Machine
- Pins
- Scissors
- 40 inches of Fabric
- Thread
Printing the Baby Doo Rag Pattern
Please read these directions before downloading.
The baby doo rag pattern fits on two pieces of standard or A4 copy paper.
Download the Baby Doo Rag pattern here.
Note: The sewing instructions for the baby doo rag are not included on the pattern itself, they are only on this web page.
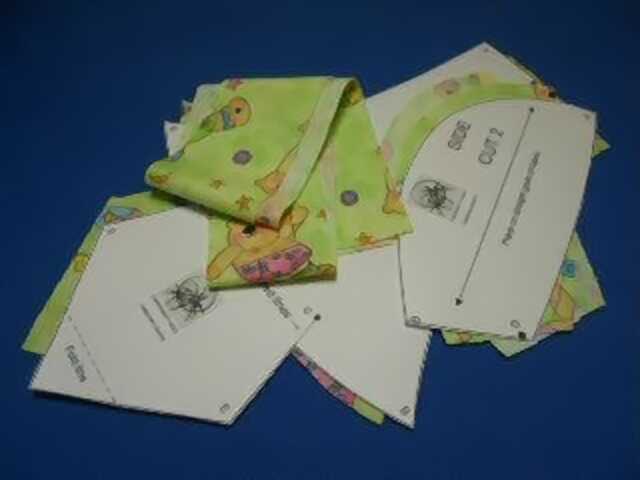
Print out the baby doo rag pattern. Cut out the baby doo rag pattern on the solid lines and along the straight dotted lines. Tape the three pieces of the top/tail piece together matching the dotted lines. There is no overlapping, simply put the pattern pieces edge to edge on the straight dotted lines and tape, matching the solid outside lines and the straight grain of fabric guide line. You will notice that one corner of the pattern piece at point B did not print out completely. Simply pencil it in to match the opposite side point B.
Cutting the Fabric for the Baby Doo Rag Pattern
Tip: If you have a pattern that you use often, try making your pattern pieces out of a strong quality paper towel. The paper towel is easily pinned through onto your fabric and doesn't rip like paper does when pinned through repeatedly for multiple uses. You may also want to glue your paper pattern sheets onto lightweight cardboard, then cut out the pieces. Place the pattern pieces on your fabric and trace around them with a fabric marking pen.
This baby doo rag pattern allows for ¼ inch seams. The seam allowance is already figured into the pattern, so there is no need to adjust or add any seam allowance to it. Lay out your pattern with the arrows on the pattern pieces in line with the straight grain of fabric. You will be cutting one top/tail piece. You will be cutting two side pieces, and one should be the reverse of the other, so when you lay out your two layers of fabric for the side pieces, they should be with either the right sides of the fabric facing one another or the wrong sides of the fabric facing one another.
Cut out the pattern along the solid outside lines.
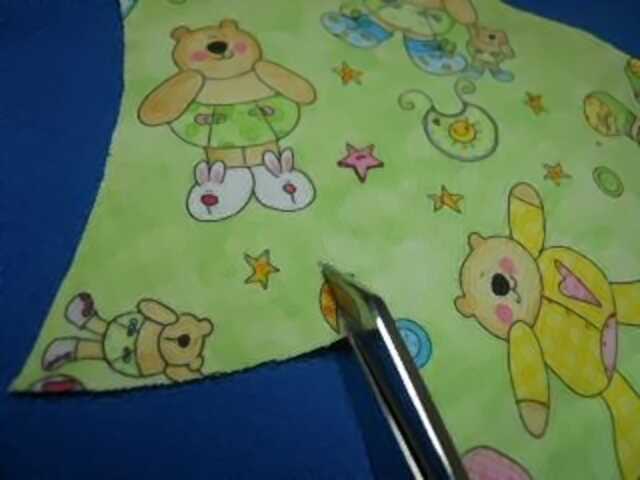
Clip ½ inch along the dotted line from the edge of the fabric to the dot labeled C.
Sewing the Baby Doo Rag
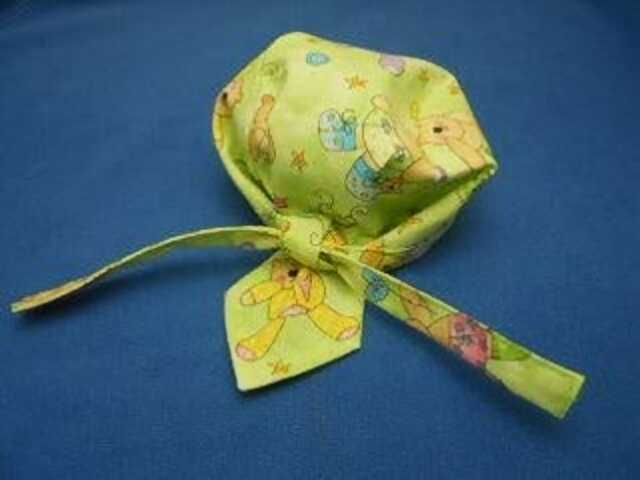
If you would like to add an applique to your baby doo rag, now is the best time. You can also cross stitch a design with waste canvas or machine embroider a design on the tail. Be sure that you leave ample room (½ inch all around) for hemming the tail. On the pattern download there is a cross and a dove which you can choose from or use your own design. A contrasting fabric will show off your applique nicely. The baby doo rag pictured doesn't have an applique since a teddy bear printed on the fabric landed nicely in the center of the tail.
Side Seam (Seam AB): Note: You may find it easiest to stitch with the concave edge (top/tail piece) on top so plan ahead when pinning so that your pins are easier to remove when stitching. With right sides together, pin one side piece to the top/tail piece from point A to point B easing in the fullness around the curve.
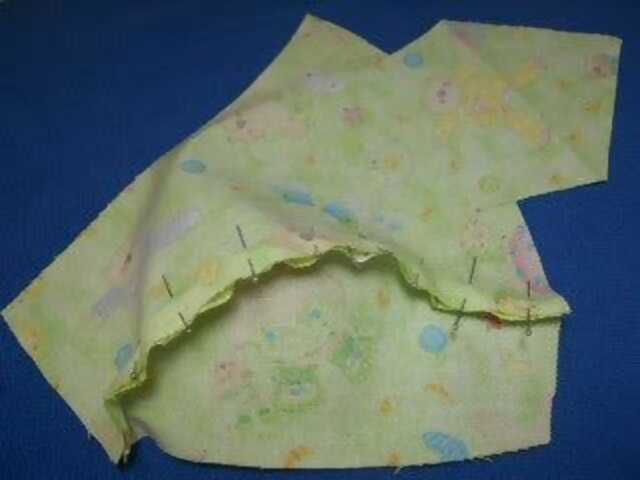
Stitch together with a ¼ inch seam, locking the stitching at both ends. Repeat with the other side.
Zig-zag or overcast the edges of the seams.
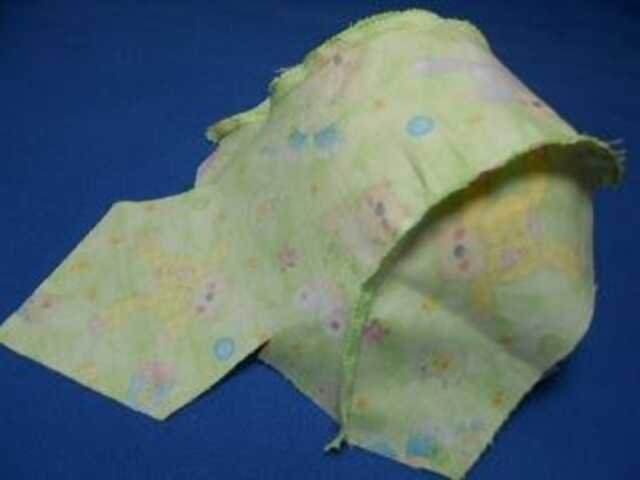
~~~ A day hemmed in prayer, seldom unravels. ~~~
Side/Back Hem: Turn the fabric under ¼ inch from C to D turning seam AB toward the side piece and finger press (crease the fold with your fingernail).
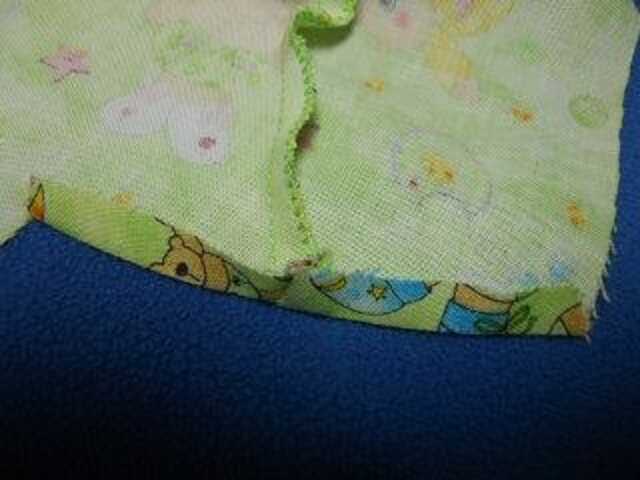
Turn under ¼ inch again and pin.
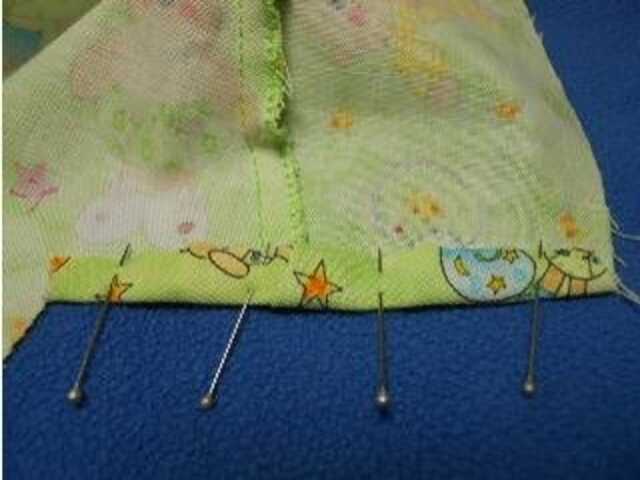
Notice that the seam line doesn't line up perfectly on the wrong side when you turn it under.
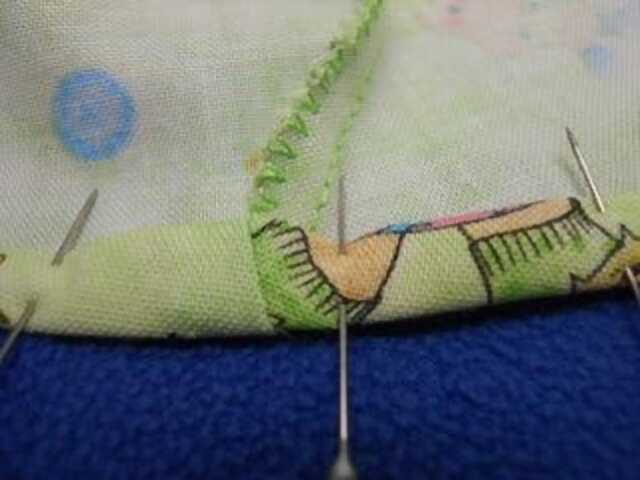
Stitch from C to D on each side of the tail, locking the stitching at the beginning and end.
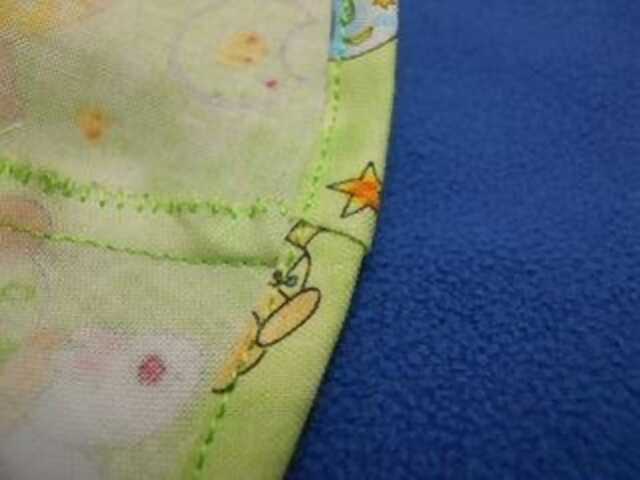
Tail Hem: Fold fabric under and press along fold line at the tip of the tail.
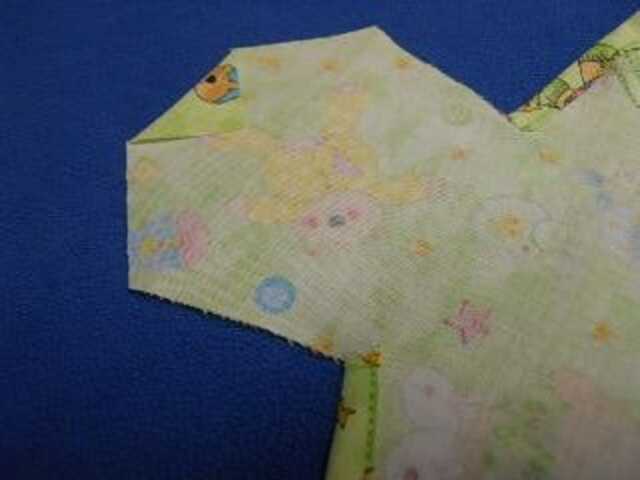
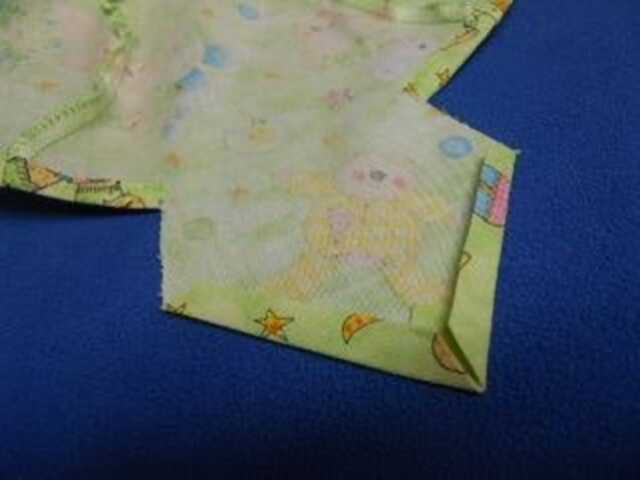
Fold under ¼ inch from tip of tail to point E on each side and press. Fold under ¼ inch again from tip of tail to point E on each side and press.
~~~ Lord, grant me that I may see to stitch until my dying day. And when my last short thread is clipped and scissors tucked away - The work that I have done live on, that other folks may see - The pleasure that I have known, Lord, in the skill you gave to me. ~~~
This creates a nice finished tip on the tail of the baby doo rag. Turn the fabric under ¼ inch from point E on one side of the tail to point C and press. Notice that the entire side of the hat is flipped over.
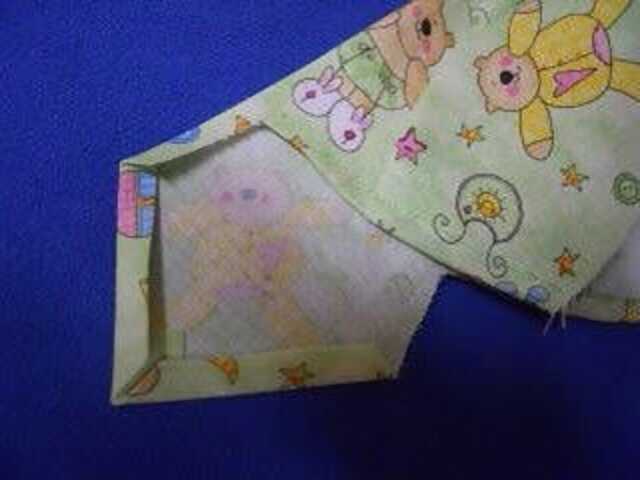
Turn under again and press.
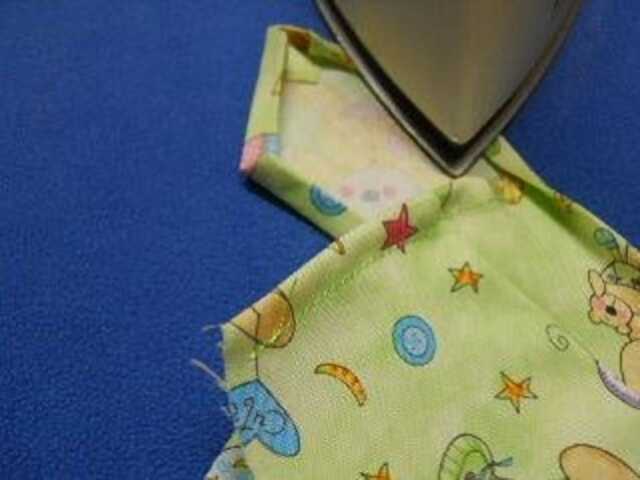
Now flip the side of the hat back over and pin.
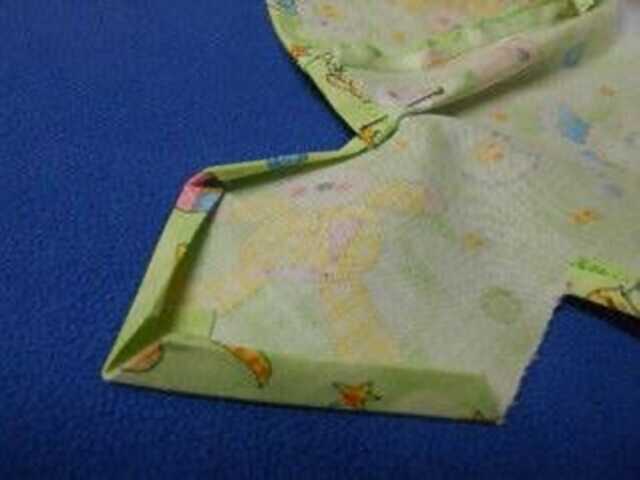
Note: This will create a pleat on each side of the tail and will also enclose any raw edges of material where you clipped from the edge of the fabric to point C. Repeat on the other side. Do yourself a huge favor now and hand baste the hem.
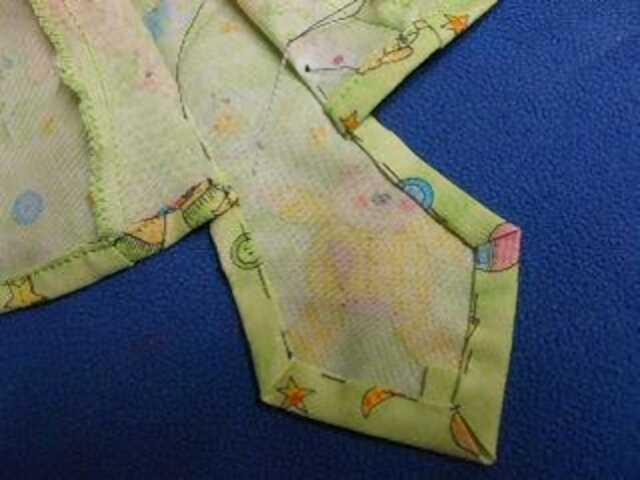
This will save your hands from getting stabbed with pins while you're trying to maneuver the turns under your sewing machine needle. Stitch your hem close to the edge from point C on one side of the tail all the way around to point C on the other side, locking the stitching on both ends. The photo below shows the stitching line is indicated in red.
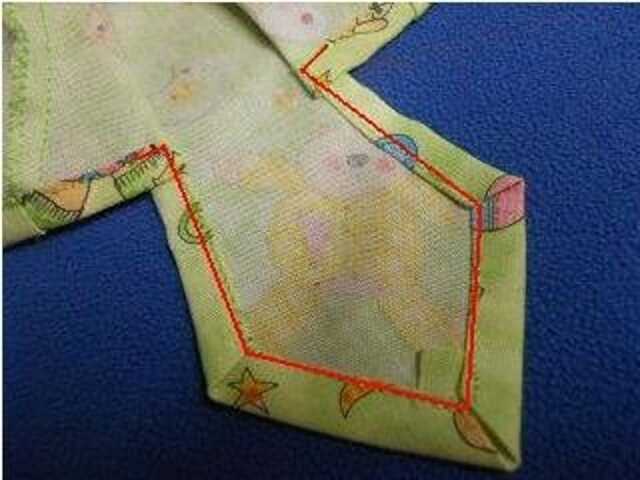
The photo below shows the right side of the fabric after the tail hem is stitched.
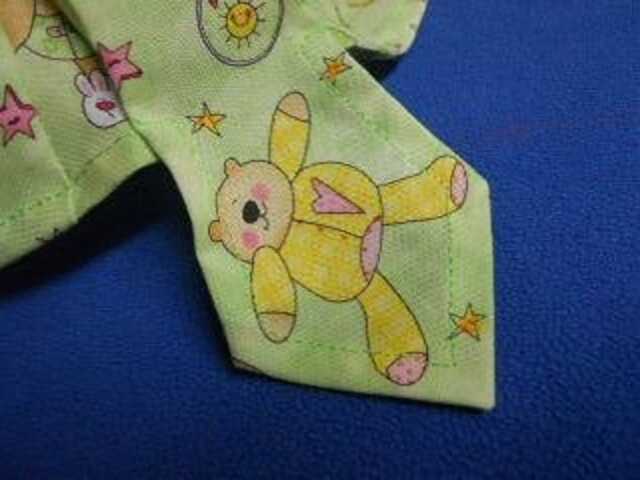
~~~ While stitching threads with gentle care, I pray this humble little prayer, that with this work the world may see, the beauty in simplicity. ~~~
Band and Ties: Turn under ¼ inch on the two short ends of the band and ties piece and press. Turn under ¼ inch on one long edge of the band and ties piece and press.
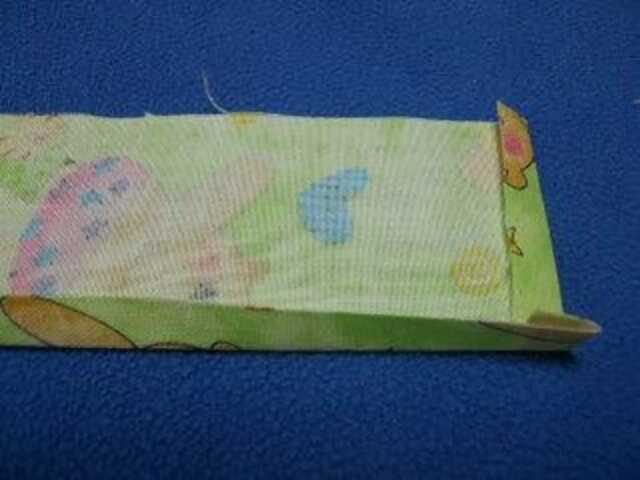
Fold the band and ties piece of fabric in half (long ways) to find the center and mark it.
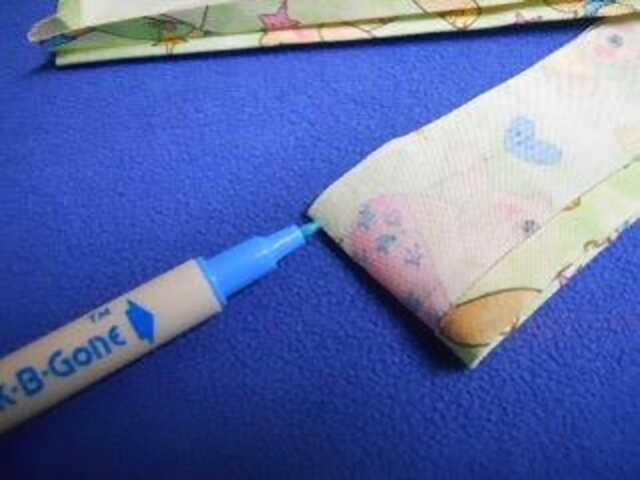
Pin right side of band and ties piece to wrong side of hat, matching the center of the band and ties piece to point F on the top/tail piece and turning seams AB to the side piece.
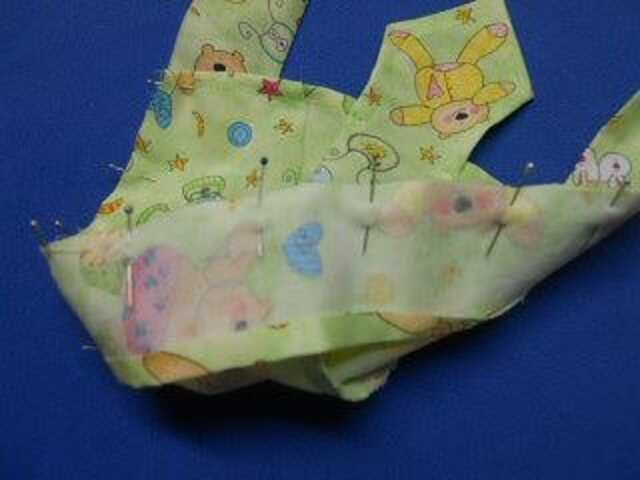
Stitch a¼ inch seam from point D on one side to point D on the other side, locking the stitching at both ends.
Turn under ¼ inch on the remaining edges of the band and ties piece and press.
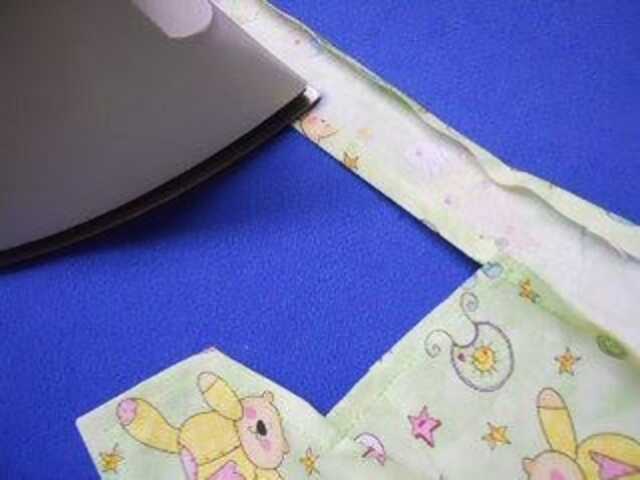
Fold the band and ties piece over the seam and pin.
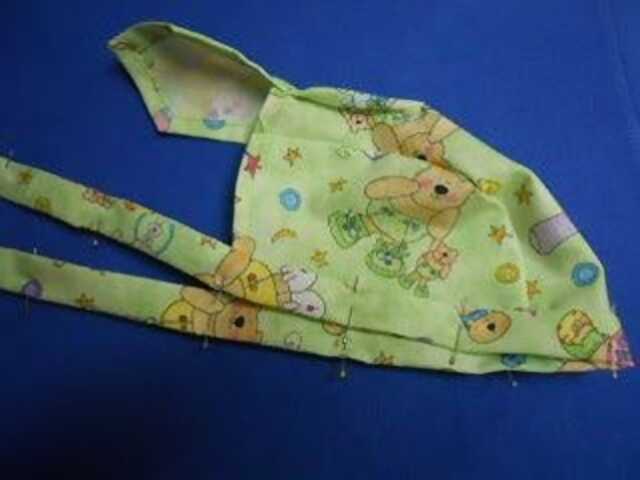
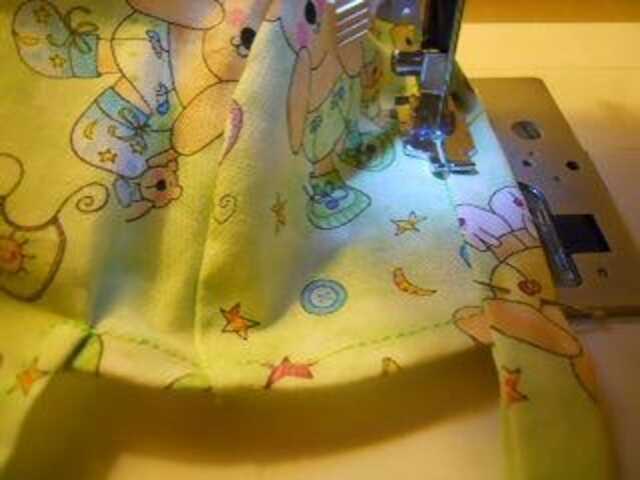
Top stitch from one end of the band and ties to the other, close to the edge.
~~~ A stitch in time, saves nine. ~~~
The completed baby doo rag.
If you like this Baby Doo Rag pattern project or know someone who would, please pass on a link to this page or feel free to include a link on your website.
God Bless.
If you like this baby doo rag project, you will also like our adult doo rag pattern and tutorial. Click the link below to create a custom baby do-rag for yourself or a loved one:
Another one of our most popular craft patterns and tutorials is our Peanut Pillow. A great gift for kids! Click on the link below to begin stitching this fun and easy project.
Thank you for visiting our Baby Doo Rag pattern and tutorial project.
More creative craft ideas at the link below:
Copyright © 2000-2026 All rights reserved.

Living Water at Christianity Oasis
John 7:38 He that believeth on me, as the scripture hath said,
out of his belly shall flow rivers of living water.

Learn how the Christianity Oasis Ministry was created by the Hand of the Lord. A true story of unconditional Love, Mercy and God's glorious Grace.
Free Baby Doo Rag Pattern and Tutorial Resources
Dew Rag Nation ... We Sell Quality Doo Rags - Look Good. Feel Great. Head Apparel You Can Be Confident In. Our category of doo rag include military style doo rags, medical doo rags, patriotic doo rags, biker doo rags, Christian doo rags and high-color fluorescent doo rags.
Creative Sewing Tips ... Doo Rag Pattern - Creative Sewing Tips. A doo rag sewing pattern will produce the doo rag, also known as the do rag or durag. It is a piece of cloth worn as a head covering.
Crochetville ... Child's Doo rag Pattern done! - Free Pattern Links - Hi ya'll! I finished the Doo rag pattern! I hope its without mistakes! http://mommawear.blogspot.com Go check it out!
Etsy ... Doo rag Pattern - Check out their doo rag pattern selection for the very best in unique or custom, ... pdf Sew Pattern PetitPoix Designer Doo Rag Pattern.
Holy Spirit ... The best head covering for any Christian child or adult is the Holy Spirit. The baby doo rag pattern from Christianity Oasis is the perfect gift idea. And, the Holy Spirit is the perfect Christian baby Doo Rag to protect you from the elements life tosses your way.
ThriftyFun ... Du or Doo Rag Pattern - Starting with a patterned handkerchief, fold it in half to make a triangle, wrap the longest part of that triangle around your forehead, using the two tip ends ...
Tripod Lycos ... Doo Rag Pattern - Teens to Adults will love this great doo-rag pattern! copyright by Gail Bable ,2000. You may use this pattern for your own personal use or for charity.
Wonder How To ... How to Make a doo Rag Pattern - Sewing & Embroidery. Step by step instructions.
After you finish the Baby Doo Rag program with Free Baby Doo Rag pattern and Baby Doo Rag tutorial, you can also check out some of the other Christian entertainment, games, music, books, mall, studies and programs within our Christian community below:
