Peanut Pillow
Free Peanut Neck Pillow Pattern
Christianity Oasis provides this Peanut Pillow Pattern. Free peanut neck pillow pattern plus a peanut neck pillow tutorial. Easy step by step instructions with images.

Proverbs 31:13
She seeketh wool, and flax, and worketh willingly with her hands.
Welcome to Christianity Oasis Crafts projects, part of our scripture based Virtuous Woman program, which is an amazing adventure for every woman.
Peanut Pillow Perfect Present
Free Peanut Pillow Pattern Procedure
This is our absolutely free Peanut Pillow pattern download with a step by step Peanut Pillow tutorial which has easy to follow instructions on how to make a Peanut Pillow.
Create Your Own Peanut Pillow Pattern
Free Peanut Neck Pillow Tutorial
A peanut pillow is a very handy little thing. It's an absolute must for children traveling by car because a peanut pillow hardly takes up any room whether it's in use or not. If you travel long distances, a peanut pillow of your own would be so much better than the public pillows that may (or may not) be available.
Doesn't it seem that every time you start to doze in the recliner, you wish you had just a little something to support your neck? A peanut pillow is the answer! But, you need a Peanut Pillow Pattern. Well, you are in luck because we provide a 100% free Peanut Pillow Pattern with Peanut Pillow tutorial.
Peanut Pillow Pattern Materials
you will need to make your own Peanut Pillow:
- Sewing Machine
- Pins
- Scissors
- ⅔ yard of Fabric
- Thread
- Polyfil
- Hand Sewing Needle
- Tape
Print the free Peanut Pillow Pattern
Please read Step 1 before downloading your Peanut Pillow Pattern.
The finished dimensions of this peanut pillow measure approximately 12 inches long and 5 inches in diameter.
Step 1. The peanut pillow pattern fits on one piece of standard or A4 copy paper. Print two copies of the pattern. The peanut pillow pattern is one half of the peanut shape. Tape the two halves together on the straight edge to make a full peanut shaped Peanut Pillow pattern piece.
Download the free Peanut Pillow Pattern here.
This is what the peanut pillow pattern download looks like:
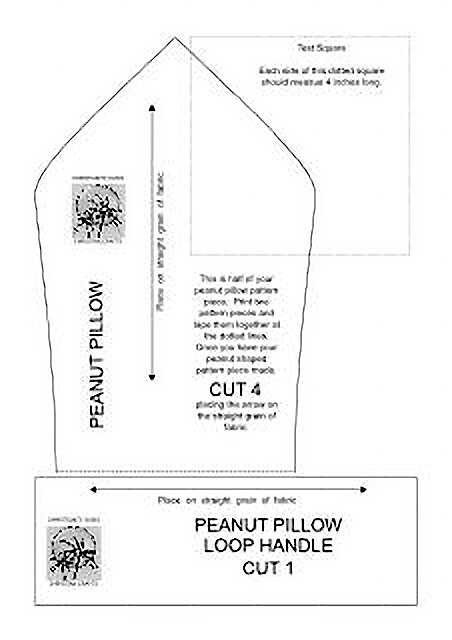
Note: The sewing instructions for the peanut pillow are not included on the pattern itself.
Customizing the Loop
Step 2. The loop on the peanut pillow is optional. You could always omit the loop if you don't need or want one on your peanut pillow. If you will not be using a loop on your peanut pillow, proceed to Step 3. If you will be using the loop on your peanut pillow to carry it, you will want to adjust the length of the loop so that it comfortably fits on your hand or over your wrist, depending on how you will carry it.
For a hand held loop, measure the circumference of the palm of your hand, from inside your thumb to the outside of your hand below your pinky, all the way around to the inside of your thumb again. Add 2 inches to this measurement so it is easy to slip on and off your hand, plus it will allow for two ½ inch seam allowances.
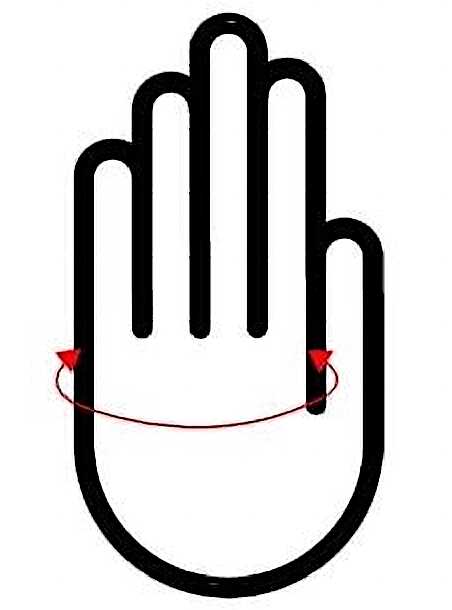
For a loop that will be used on your wrist, measure the circumference of the widest part of your hand. Add 2 inches to this measurement so it is easy to slip on and off your hand, plus it will allow for two ½ inch seam allowances.

~~~ A day hemmed in prayer seldom unravels. ~~~
Cutting the Fabric
Step 3. This Peanut Pillow pattern allows for ½ inch seams. The seam allowance is already figured into the pattern, so there is no need to adjust the peanut shaped piece or add any seam allowance to it. Lay out your pattern with the arrows along the straight grain of fabric. Cut 4 of the peanut shaped pattern piece and 1 of the loop handle.
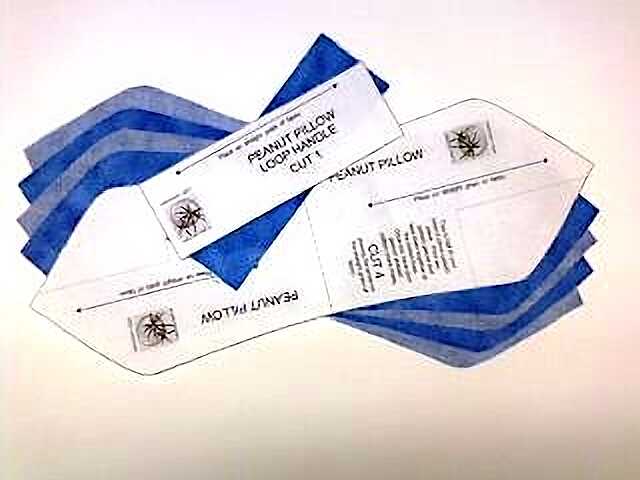
Tip: If you have a pattern that you use often, try cutting it out of a strong quality paper towel. The paper towel is easily pinned through onto your fabric because of its flexibility and it doesn't rip so easily as paper does when pinned through repeatedly for multiple uses.
Sewing the Peanut Pillow
Step 4. Starting with the loop, fold the fabric lengthwise, right sides together, and stitch a ½ inch seam, locking your stitching at the beginning and at the end of the seam. Finger press the seam open with your fingernail. To finger press, simply lay the seam open on a flat surface and scrape your fingernail on the opened seam as you would to crease a piece of paper. This doesn't press the seam open as well as an iron, but works sufficiently for this purpose.
This photo can be misleading an it may look like the wrong sides are together, but if you look closely, this is after the seam is pressed open with a fingernail and the brightly colored blue fabric is the inside of the seam that is pressed open.
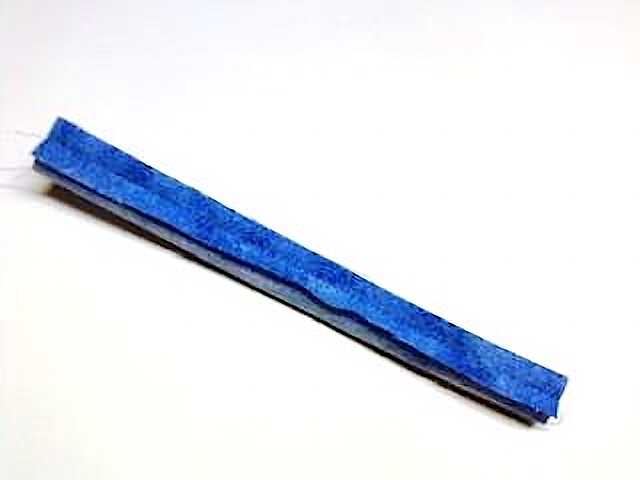
Step 5. Turn the loop right side out and iron flat with the seam in the center. Top stitch two rows of stitching, along the length of the loop, one third of the way in from each edge. Use whatever stitch length you desire.
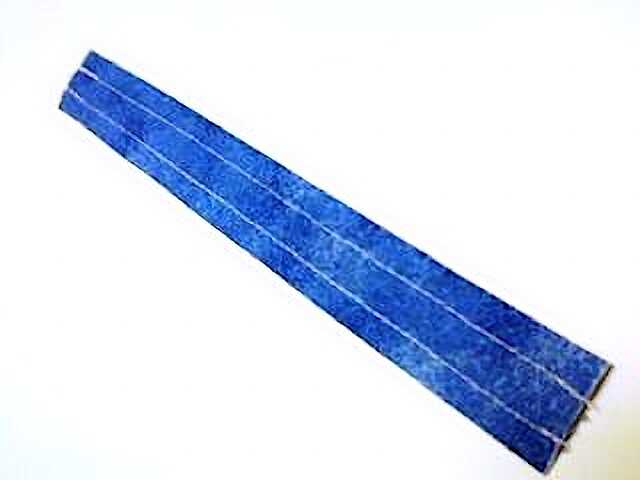
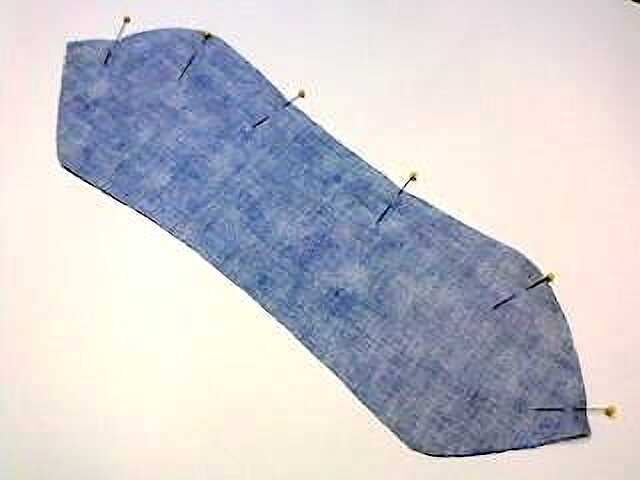
Step 6. With right sides together, pin two of the peanut shaped pieces of fabric together along one long side.
~~~ A stitch in time saves nine. ~~~
Stitch a ½ inch seam, locking your stitching at the beginning and at the end of the seam. Repeat with the other two peanut shaped pieces.
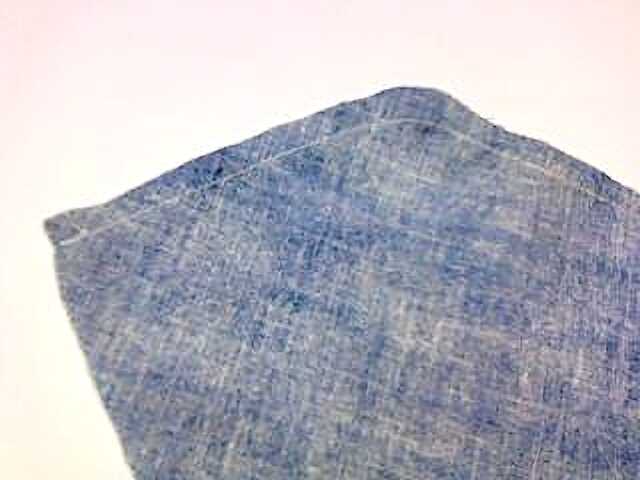
Step 7. Fold the loop in half, raw edges together, with the seam on the inside of the loop. Baste the loop to one half of the pillow where the seam is on the right side of the fabric.
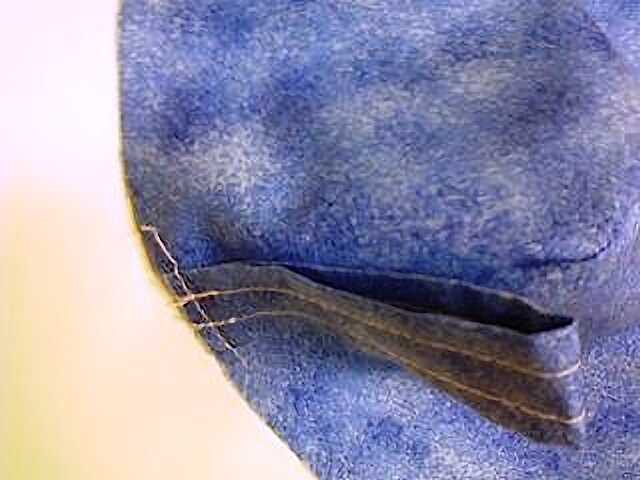
Step 8. Now you should have two halves of your pillow that look sort of like canoes when opened up. Pin these halves, right sides together, all the way around, matching seams and if including a loop on your peanut pillow, it should be inside the two layers of fabric at this point.
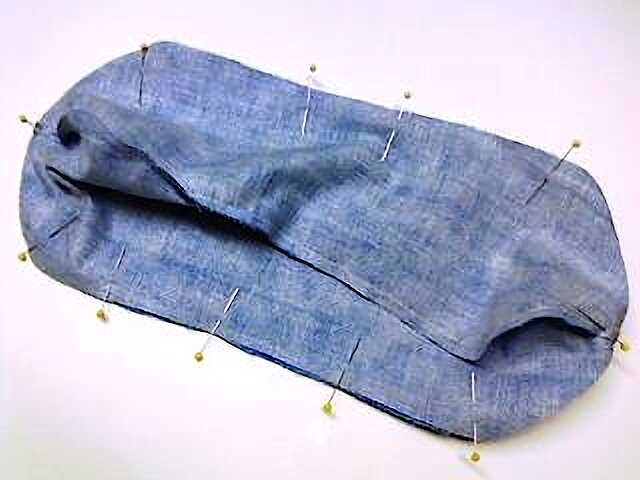
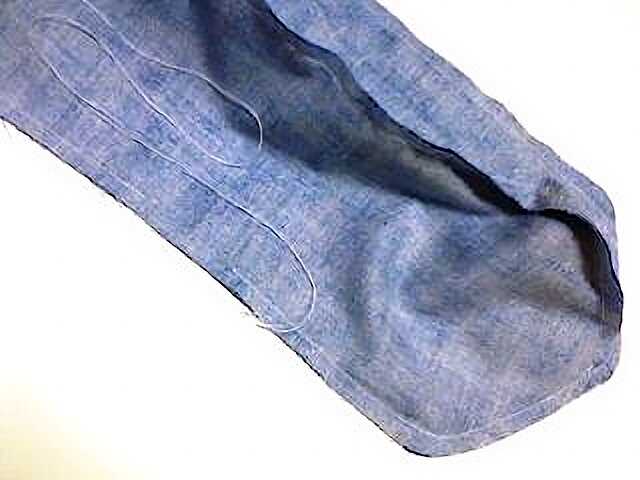
Step 9. Starting on one long edge, leaving a 2 inch opening (so you can stuff your peanut pillow with Poly-Fil or your choice of fiberfill), stitch a ½ inch seam all the way around the pillow (except for the 2 inch opening), locking your stitching at the beginning and at the end of the seam.
Tip: If you leave your thread long at the end of your stitching you can use this thread to close the opening after stuffing.
~~~ Lord, grant me that I may see to stitch until my dying day. And when my last short thread is clipped and scissors tucked away - The work that I have done live on, that other folks may see - The pleasure that I have known, Lord, in the skill you gave to me. ~~~
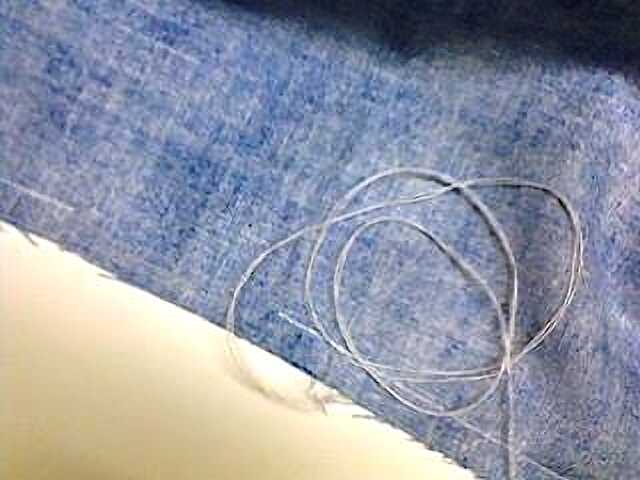
Step 10. Carefully and gently turn the peanut pillow right side out and bring the thread to the outside that you left for sewing the opening closed. If you accidentally clipped the thread, you can just knot a piece of thread and close the opening in Step 12 as you would to hand sew anything else with a simple knot at the end.
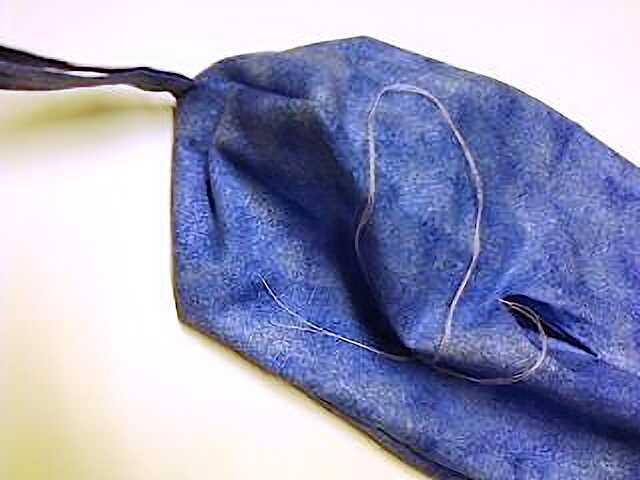
Step 11. Stuff the peanut pillow with Poly-Fil or your choice of fiberfill. You can stuff your peanut pillow to whatever firmness you like.
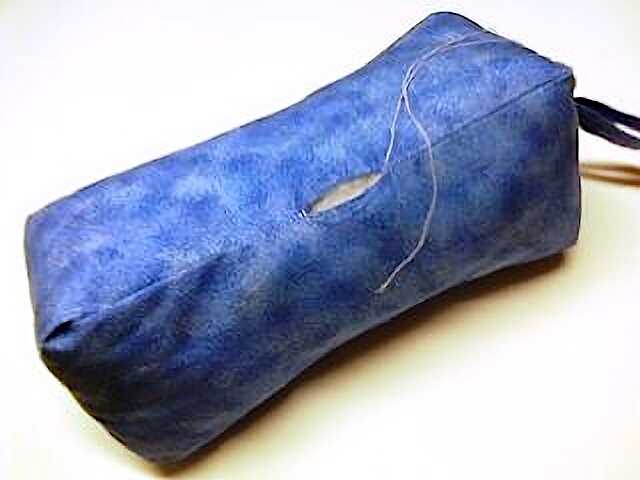
Step 12. Blind stitch the opening of your peanut pillow closed by hand sewing with a needle and thread.
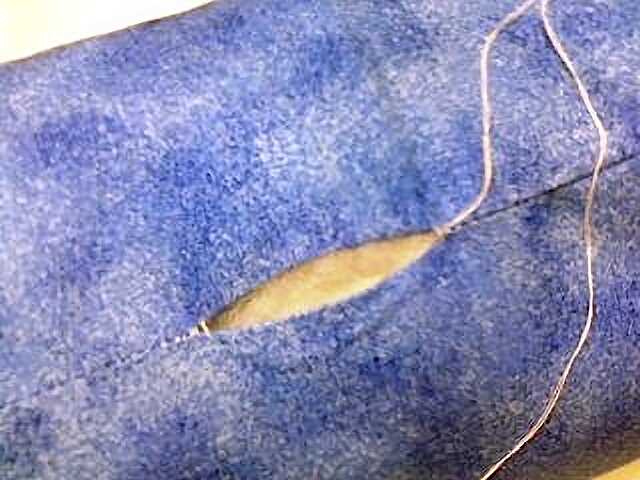
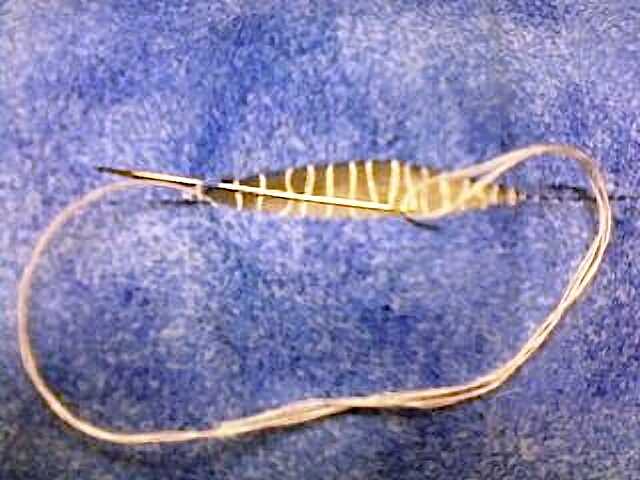
~~~ While stitching threads with gentle care, I pray this humble little prayer, that with this work the world may see, the beauty in simplicity. ~~~
Just sort of loosely ladder stitch the opening, then gently pull it taut to close the seam and tie off your thread.
Done!
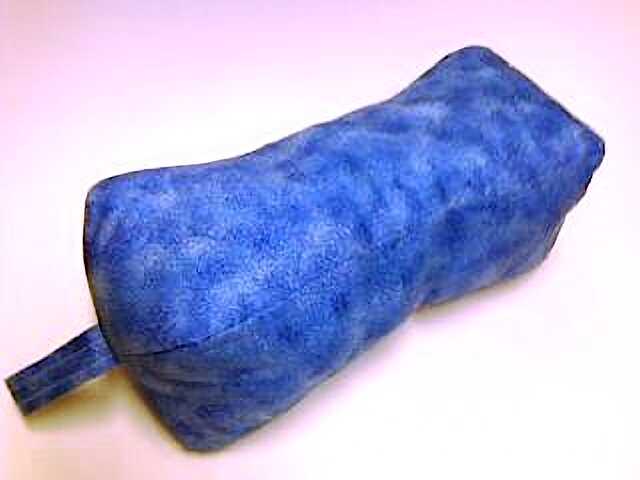
If you like this Peanut Pillow pattern project or know someone who would, please pass on a link to this page or feel free to include a link on your website.
God Bless.
If you like this Peanut Pillow project, you may also like our baby dew rag pattern and tutorial. Click the link below to create a custom baby do-rag for yourself or a loved one:
Another one of our most popular craft patterns and tutorials is our Adult Dew Rag. Click on the link below to begin stitching this fun and easy project.
See what folks in the Christianity Oasis Community are cooking!
Thank you for visiting our Peanut Pillow palace with free peanut neck pillow pattern and neck pillow tutorial project.
More craft ideas at the link below:
Copyright © 2000-2026 All rights reserved.

Living Water at Christianity Oasis
John 7:38 He that believeth on me, as the scripture hath said,
out of his belly shall flow rivers of living water.

Learn how the Christianity Oasis Ministry was created by the Hand of the Lord. A true story of unconditional Love, Mercy and God's glorious Grace.
Peanut Pillow Resources
Free Peanut Neck Pillow Pattern Sites
A Spoonful of Sugar Designs ... Peanut Pillow Pattern - Peanut Pillows are a fun gift idea to sew. They are great to use in your living ... Peanut Pillow Pdf Sewing Pattern by A Spoonful of Sugar.
Dream Designs ... Peanut Pillow Pattern - Recommended by chiropractors to relieve stress and back pain, our peanut pillows help restore the natural curve of the spine and relieve pressure.
Etsy ... Free Peanut Pillow PDF Sewing Pattern - Combine two coordinating fat quarters of fabric to make these fun peanut shaped pillows. You won't want to stop at one!
Holy Spirit ... Let the Holy Spirit be your peanut pillow. Lay your head down on Him and discover genuine peace like never before with our free peanut neck pillow tutorial.
LoveCrafts ... Peanut Neck Pillow Knitting pattern by Rian Anderson. Patterns › Cushions. A peanut shaped neck pillow to use at home or for traveling. Written for a medium sized pillow.
Pinterest ... Peanut Pillow Free Pattern - Peanut pillow site with free peanut pillow pattern and free peanut pillow tutorial. It is easy to understand instructions and illustrations.
So Sew Easy ... 30+ FREE Travel Pillow Sewing Patterns. Don't ever pay top dollar for a travel pillow again!
SewingSupport.com ... 100+ FREE Pillow Patterns - A collection of over 100 free pillow sewing patterns, diy projects, and tutorials.
If and when you are completed with our Peanut Pillow gift presenting you with an easy to understand free peanut neck pillow pattern which includes a SON-sational free peanut neck pillow tutorial ... You can also check out some of the other Christian entertainment, games, music, books, mall, studies and programs within our Christian community below:


